Self-Help Guide to Changing Your Own Jewellery
This guide will help you fit new jewellery into your piercing.
If you’re still unsure after reading this guide, please visit Lighthouse Tattoo & Piercing on Queen’s Road. One of the team will be happy to help.
Getting started
To avoid the risk of infection, we highly recommend avoiding changing your jewellery until at least four months after your initial piercing.
Be sure to wash your hands thoroughly first. For extra grip, wear latex gloves if you have them. Make sure to clear the new jewellery with saline or an alcohol wipe and then leave it to dry.
Using a saline solution (on sale at Lighthouse shop), clean the area before carefully removing the current jewellery. Then, use this guide to help you insert your chosen jewellery.

Barbell/circular barbell
Unscrew one of the balls, insert the jewellery through your piercing to where you’d like, clean the thread with saline, and tightly screw the removed ball back on. See below.
Jewelled bananabell
Do the same as above, making sure to unscrew the smaller of the two balls. Then, insert the jewellery and reattach the ball.

BCR
The bead comes away from the ring.
To do this, tightly grasp the bead and pull it away from the ring in a hinging motion, being sure to pull one of the dimpled sides away before the other.
Insert the jewellery into the piercing and then place the bead back into the ring. Make this easier by placing one dimpled side onto the ring first, and then firmly push the bead into the ring until you hear it click into place.
Remember: If you’re still unsure after reading this guide, please visit Lighthouse Tattoo & Piercing on Queen’s Road. One of the team will be happy to help.
Smooth segment ring
This is similar to the BCR, although there is a segment of the ring that’s removed. Follow the BCV instructions but replace ‘bead’ with ‘segment’.

Hinged ring
Another version of the segment ring, this piece has one side attached to the ring via a hinge mechanism. To open, pull the non-hinge ring side away until it opens. To close, simply do the reverse.

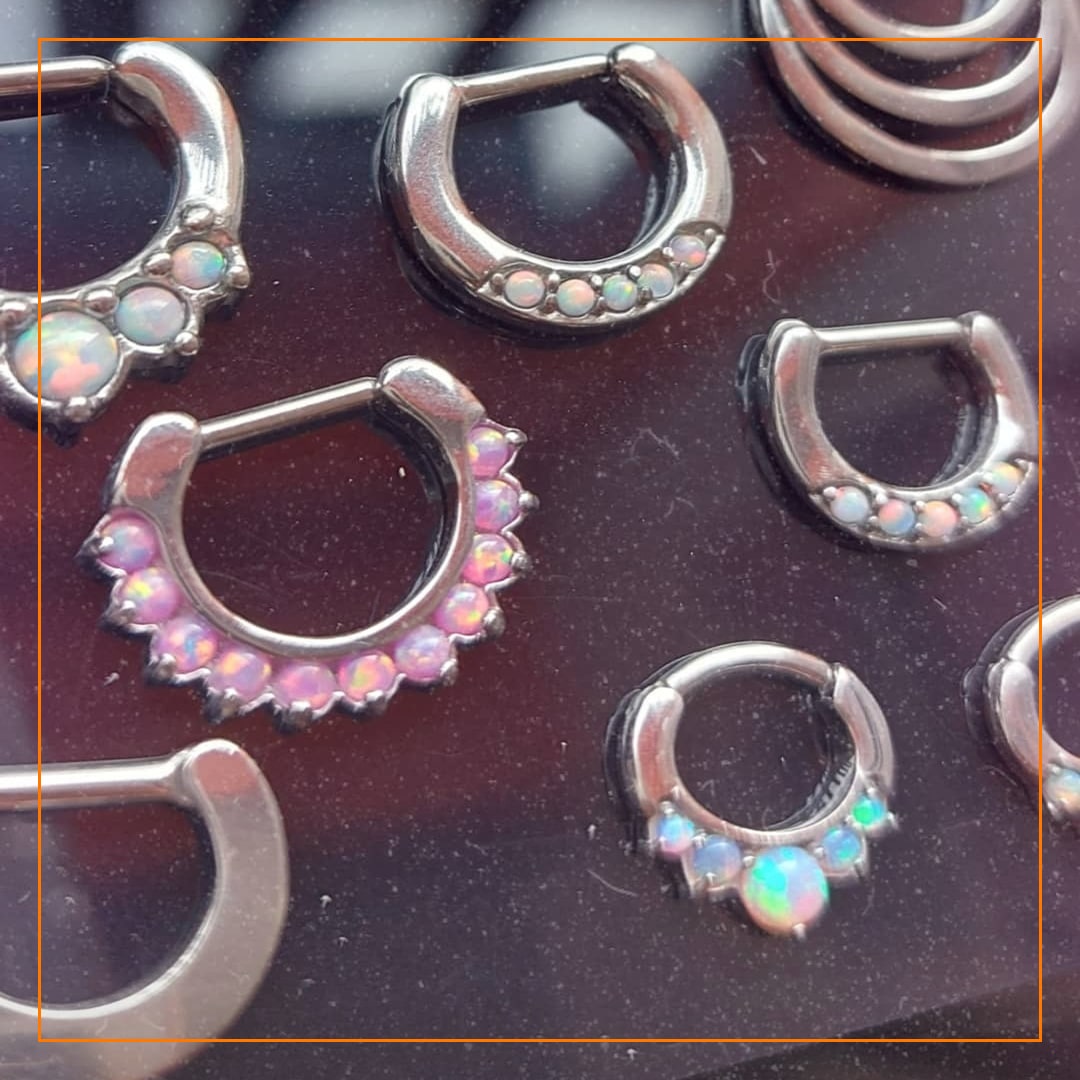
Septum/nipple clicker
The same as hinged/segment rings. They only differ in shape.
Nostril stud
Carefully insert the stem into your nostril to the point at which the jewellery curves. Twist the jewellery into your nose while following the stud’s curve. Be sure to slightly lift the stud away from your face while doing so. Follow the motion around until the stud is secured.
If you’re struggling, placing a finger on the inside of your nostril can help you feel when the jewellery goes through your piercing.

Remember: If you’re still unsure after reading this guide, please contact us or visit Lighthouse Tattoo & Piercing on Queen’s Road. One of the team will be happy to help.
NOTE: If you enjoyed this article then don't worry, because there's plenty more where that came from. Head over to our blog section now.

Your first tattoo at Lighthouse
A Guide to Buying Jewellery Online